How to Draw Danganronpa Style
/i know that the tpl isnt in danganronpa style. i just want to use my own art for a tutorial tpl./
Hello!
So I've been drawing something (my OCs) in the canon style, and I thought I'd share how it's done, so other people could be able to draw their characters in the same style. This is only for Traditional drawing style however, since I'm not really so good with digital. Anyways let's get on with it! I'm using my OC for this one :)
Here are the things you'll need!
• A pencil
• An eraser (though I recommend using an eraser with a dull edge.)
• Paper (the effects depend on the type of paper, and as of now I think it shows best on vellum board.)
• A cotton swab (amount varies on how large your drawing is, and how you use it)
–•Procedure•–
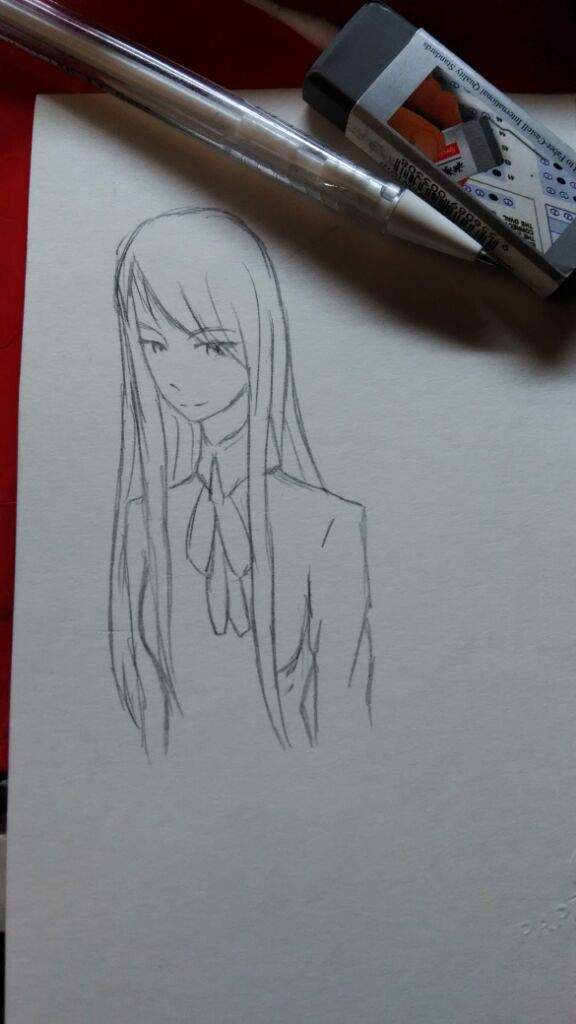
Firstly, of course, make the sketch or lineart. It could be done using the same pencil or maybe you can use a pen, if you want a thick outline/want the outline to stand out. Make sure to make thin lines first! You'll have to smudge them later.
–•–
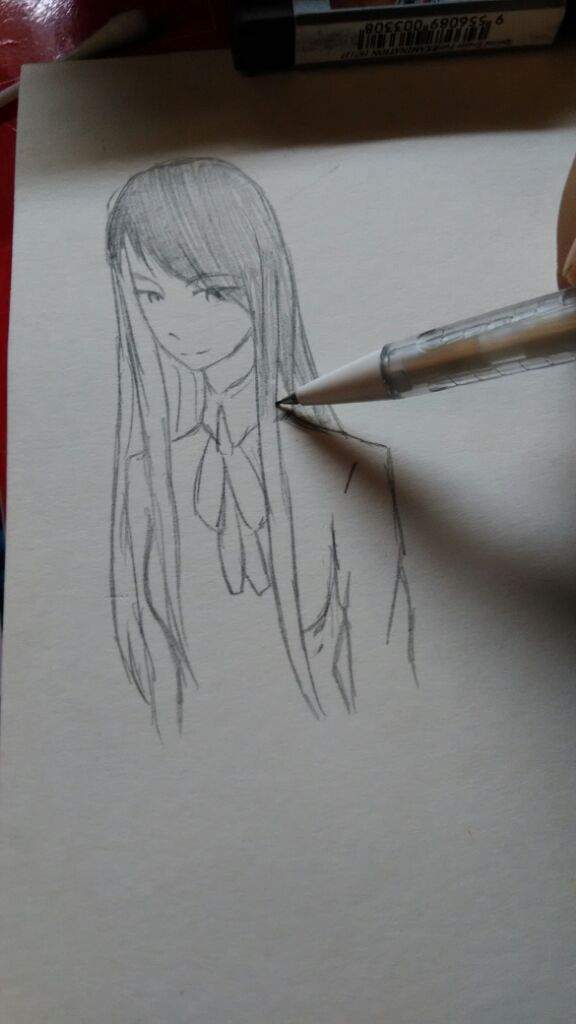
After you make the sketch/lineart, shade in the coloured parts. Be sure to shade lightly so it's easier to smudge. Also, I think this procedure would also work with color pencils even though I haven't tried it yet myself. Do it if you wish to have a coloured one!
Don't shade things fully for now. That'll go later c:
–•–
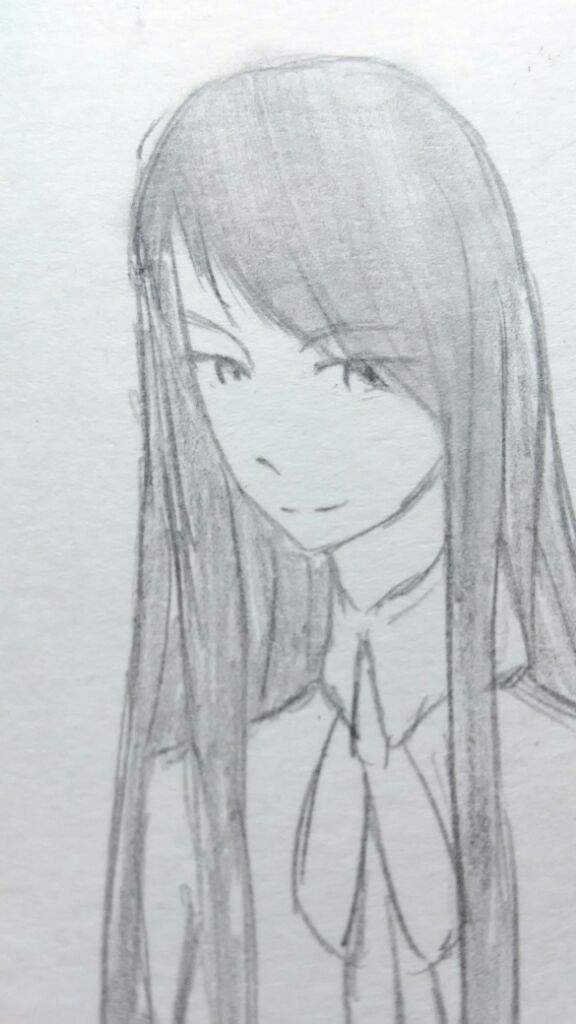
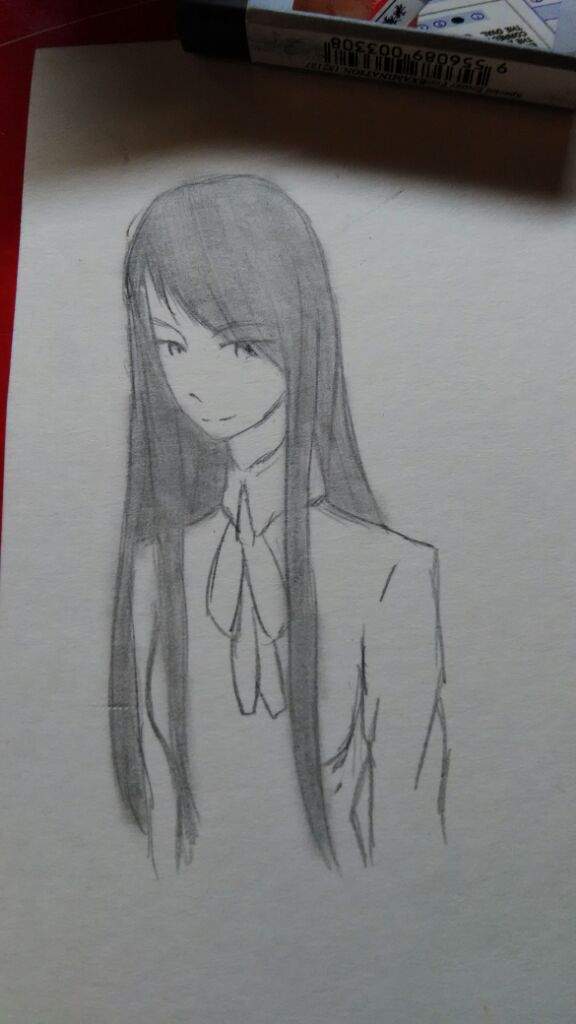
After shading, smudge it with your cotton swab. Even though it can be done using fingers, I suggest that you use cotton swabs. Not only to keep yourself clean, but it's better to use one.
In the image, I've smuged her bangs and showed the other parts of the hair for comparison. After you've smudged all of it, it should look like this:
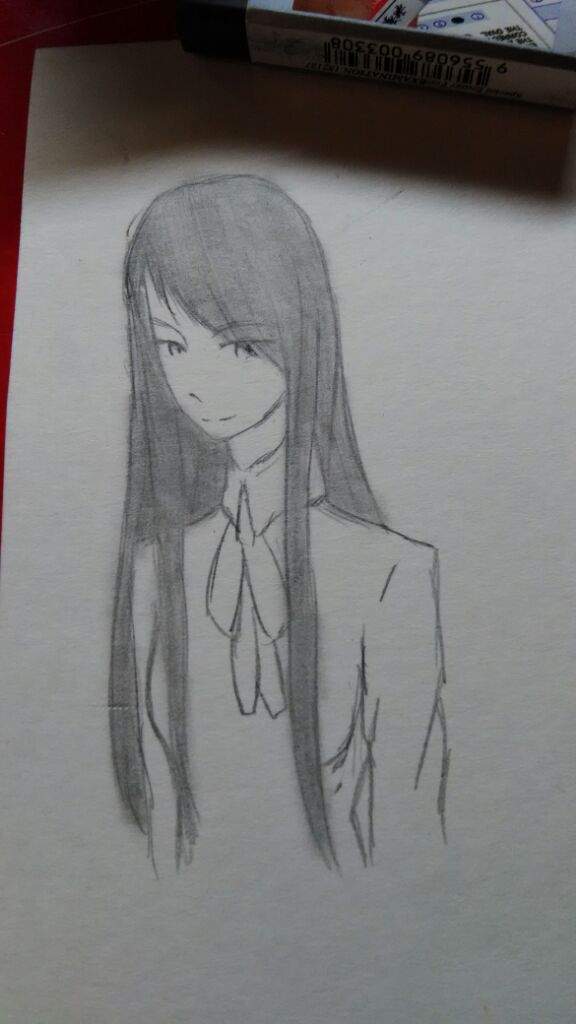
If you want to achieve a darker tone, simply repeat the shading-smudging part until you get what you need. Be careful not to shade too much!
–•–
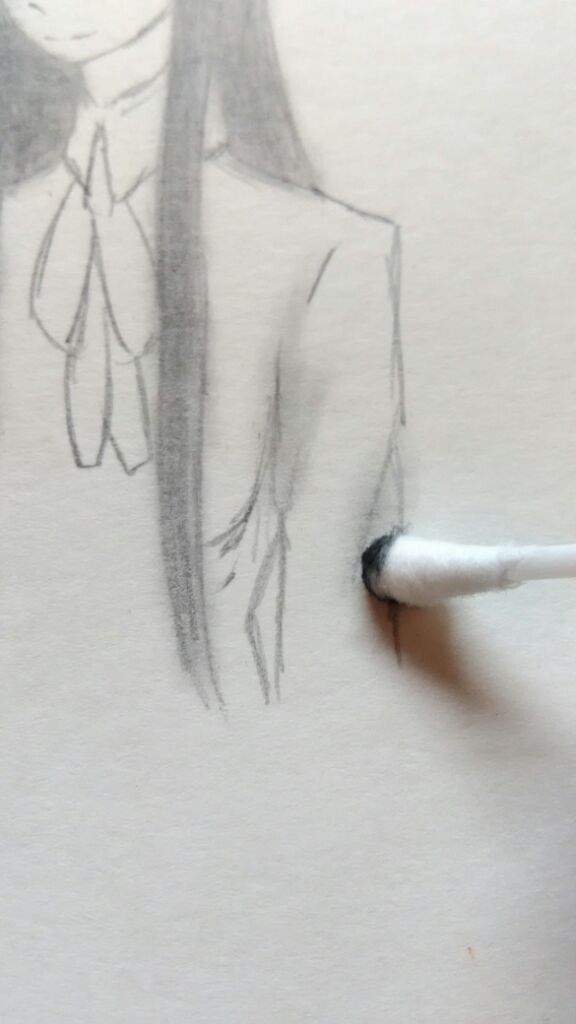
After all that smudging, the cotton swab can be used to shade in details. If ever your drawing has white parts or anything on it, you need not to shade and smudge, you can just use the cotton swab! I mainly did this for white sleeves, clothes, faces, hands, arms, and legs of characters. In the legit Danganronpa style, we can all see the semi-realism or sometimes, realistic style. So this is convenient if you want that look.
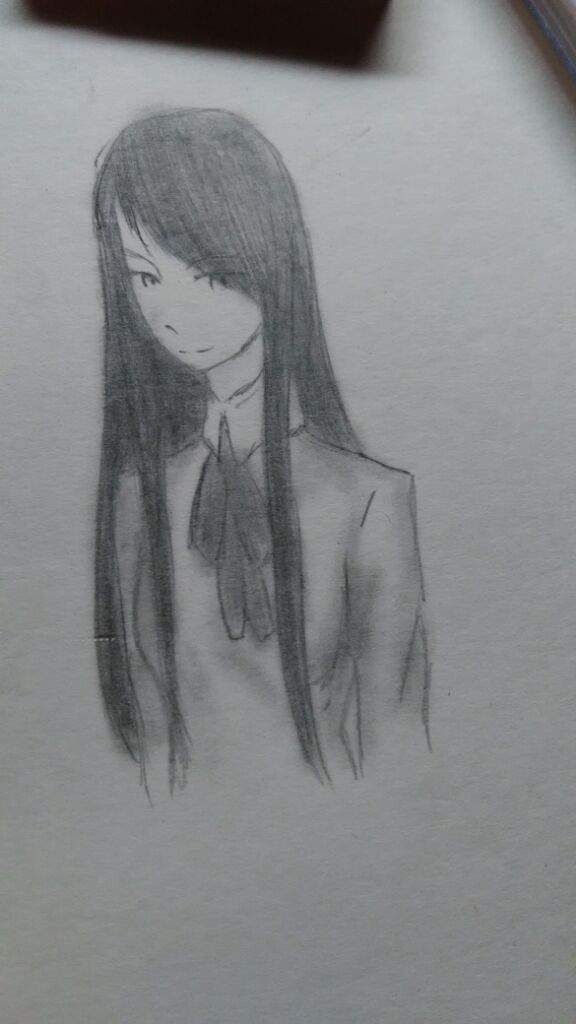
–•–
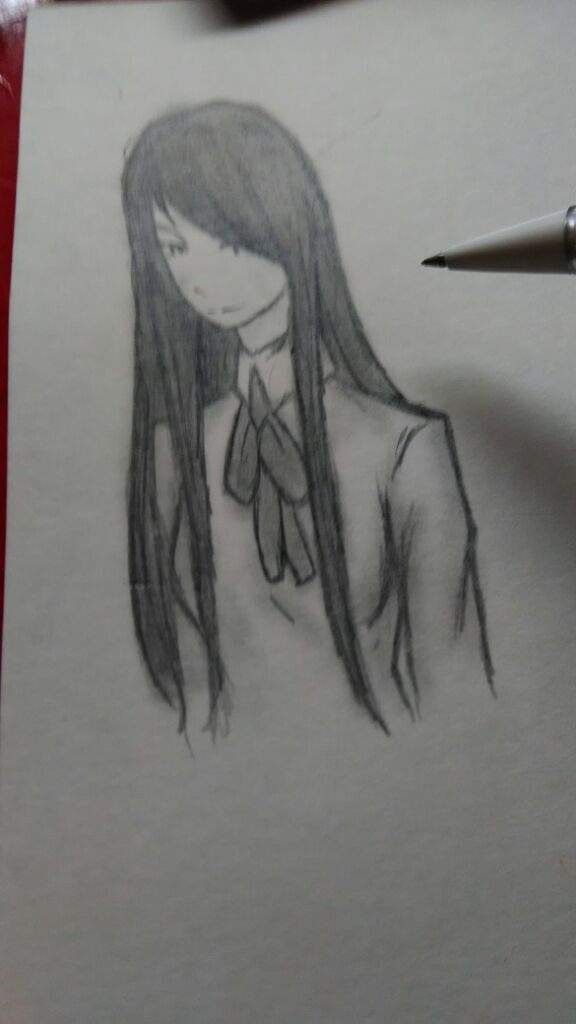
Once you've finished your smudging and shadowing, you may proceed to re-do the outline. Make it a little thicker and darker this time, and also include some other details.
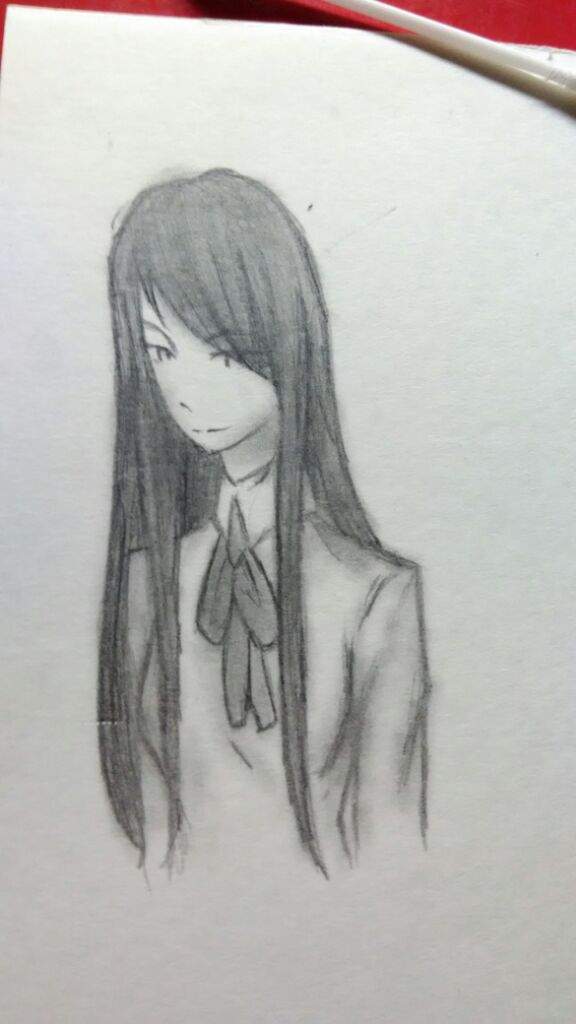
After that, lightly shade it inwards, or to any direction needed.
–•–
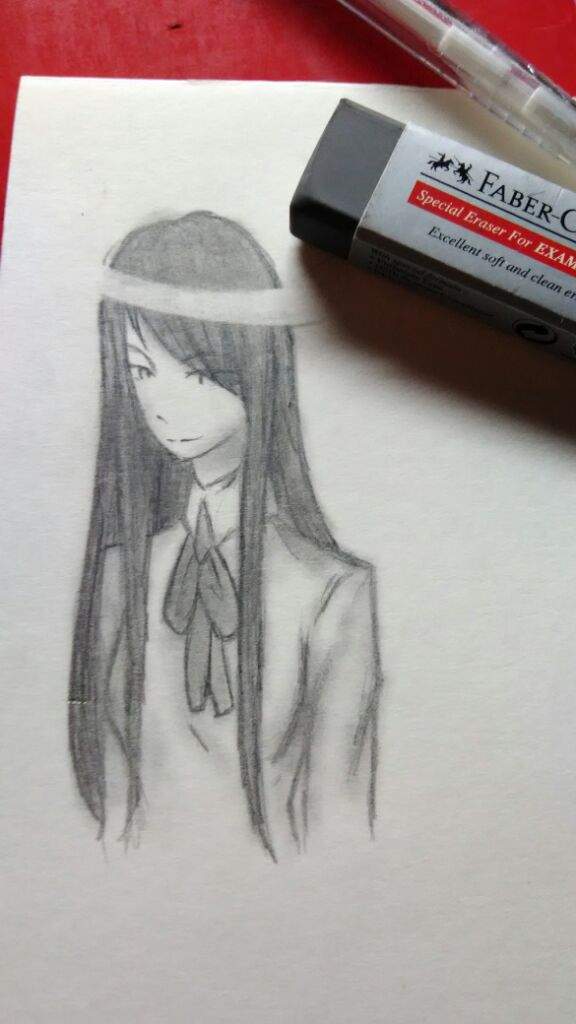
It's time for the hair reflection! Simply use your eraser to make a slight curve on the hair. Be careful not to press too hard, or too light. It should look like the picture shown above. Also I lost my eraser again so I had to use a new one with the sharp edges ;-; Still, I somehow managed c':
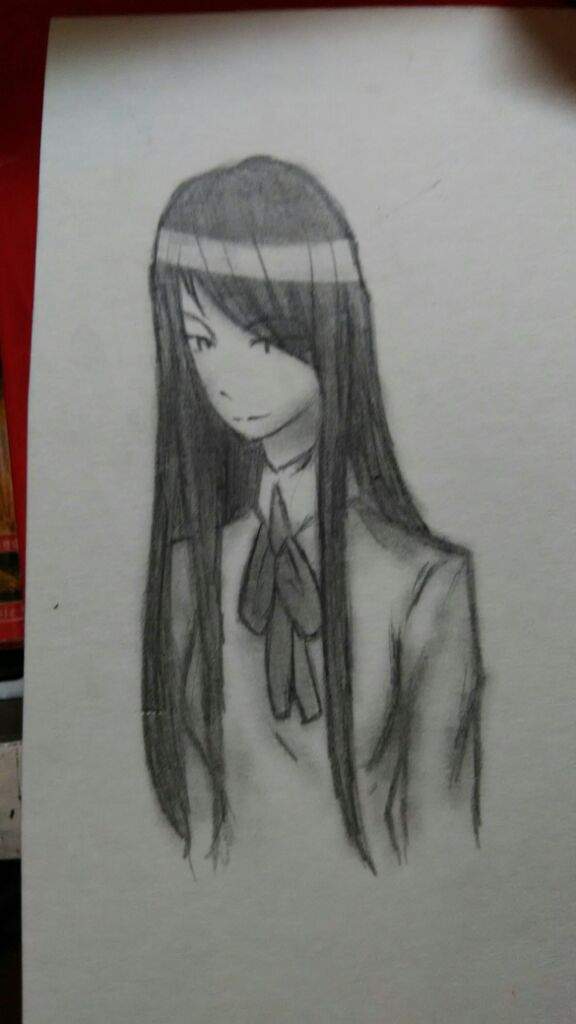
After that, reconnect the outline and add other lines for the hair. Also, be sure to erase unnecessary lines outside of image.
–•–
As I've mentioned earlier, the effects vary on the type of paper used. I used a different one here because I cant find my spare vellum board, so here's this thing which is still a WIP, also taking me ages to finish.
This is late but here's 7/16 cast of Danganronpa: Death Wish in a WIP artwork!

Hand + messy desk reveal :joy: Done on vellum board.
–•–
I'd totally recommend using a vellum board for this. Also, I hope I helped, and that you look forward for the completion of the Death Wish art and cast!
–•Have a nice day!•–
edit: thank for feature :')
villanvevaneracked.blogspot.com
Source: https://aminoapps.com/c/danganronpa/page/blog/traditional-danganronpa-style-tutorial/PJa3_r8LsmuNq64Lx1G4WNZN1MYJ7kRwNa
0 Response to "How to Draw Danganronpa Style"
Post a Comment